Locations
Overview
Your location library. Every place you photograph, scout, or want to remember goes here. Locations can be linked to bookings, environmental data, and moon alignment calculations.
Location Types
| Type | Examples |
|---|---|
| Coastal | Beach, cliff, harbour |
| Indoor | Church, warehouse, venue |
| Landscape | Moorland, fields, mountains |
| Landmark | Historic Building, a natural wonder |
| Studio | Commercial studio space |
| Urban | City streets, rooftops |
| Wildlife | Nature reserves, hides |
| Other | Anything else |
Accessing Locations
Planning tab → Locations
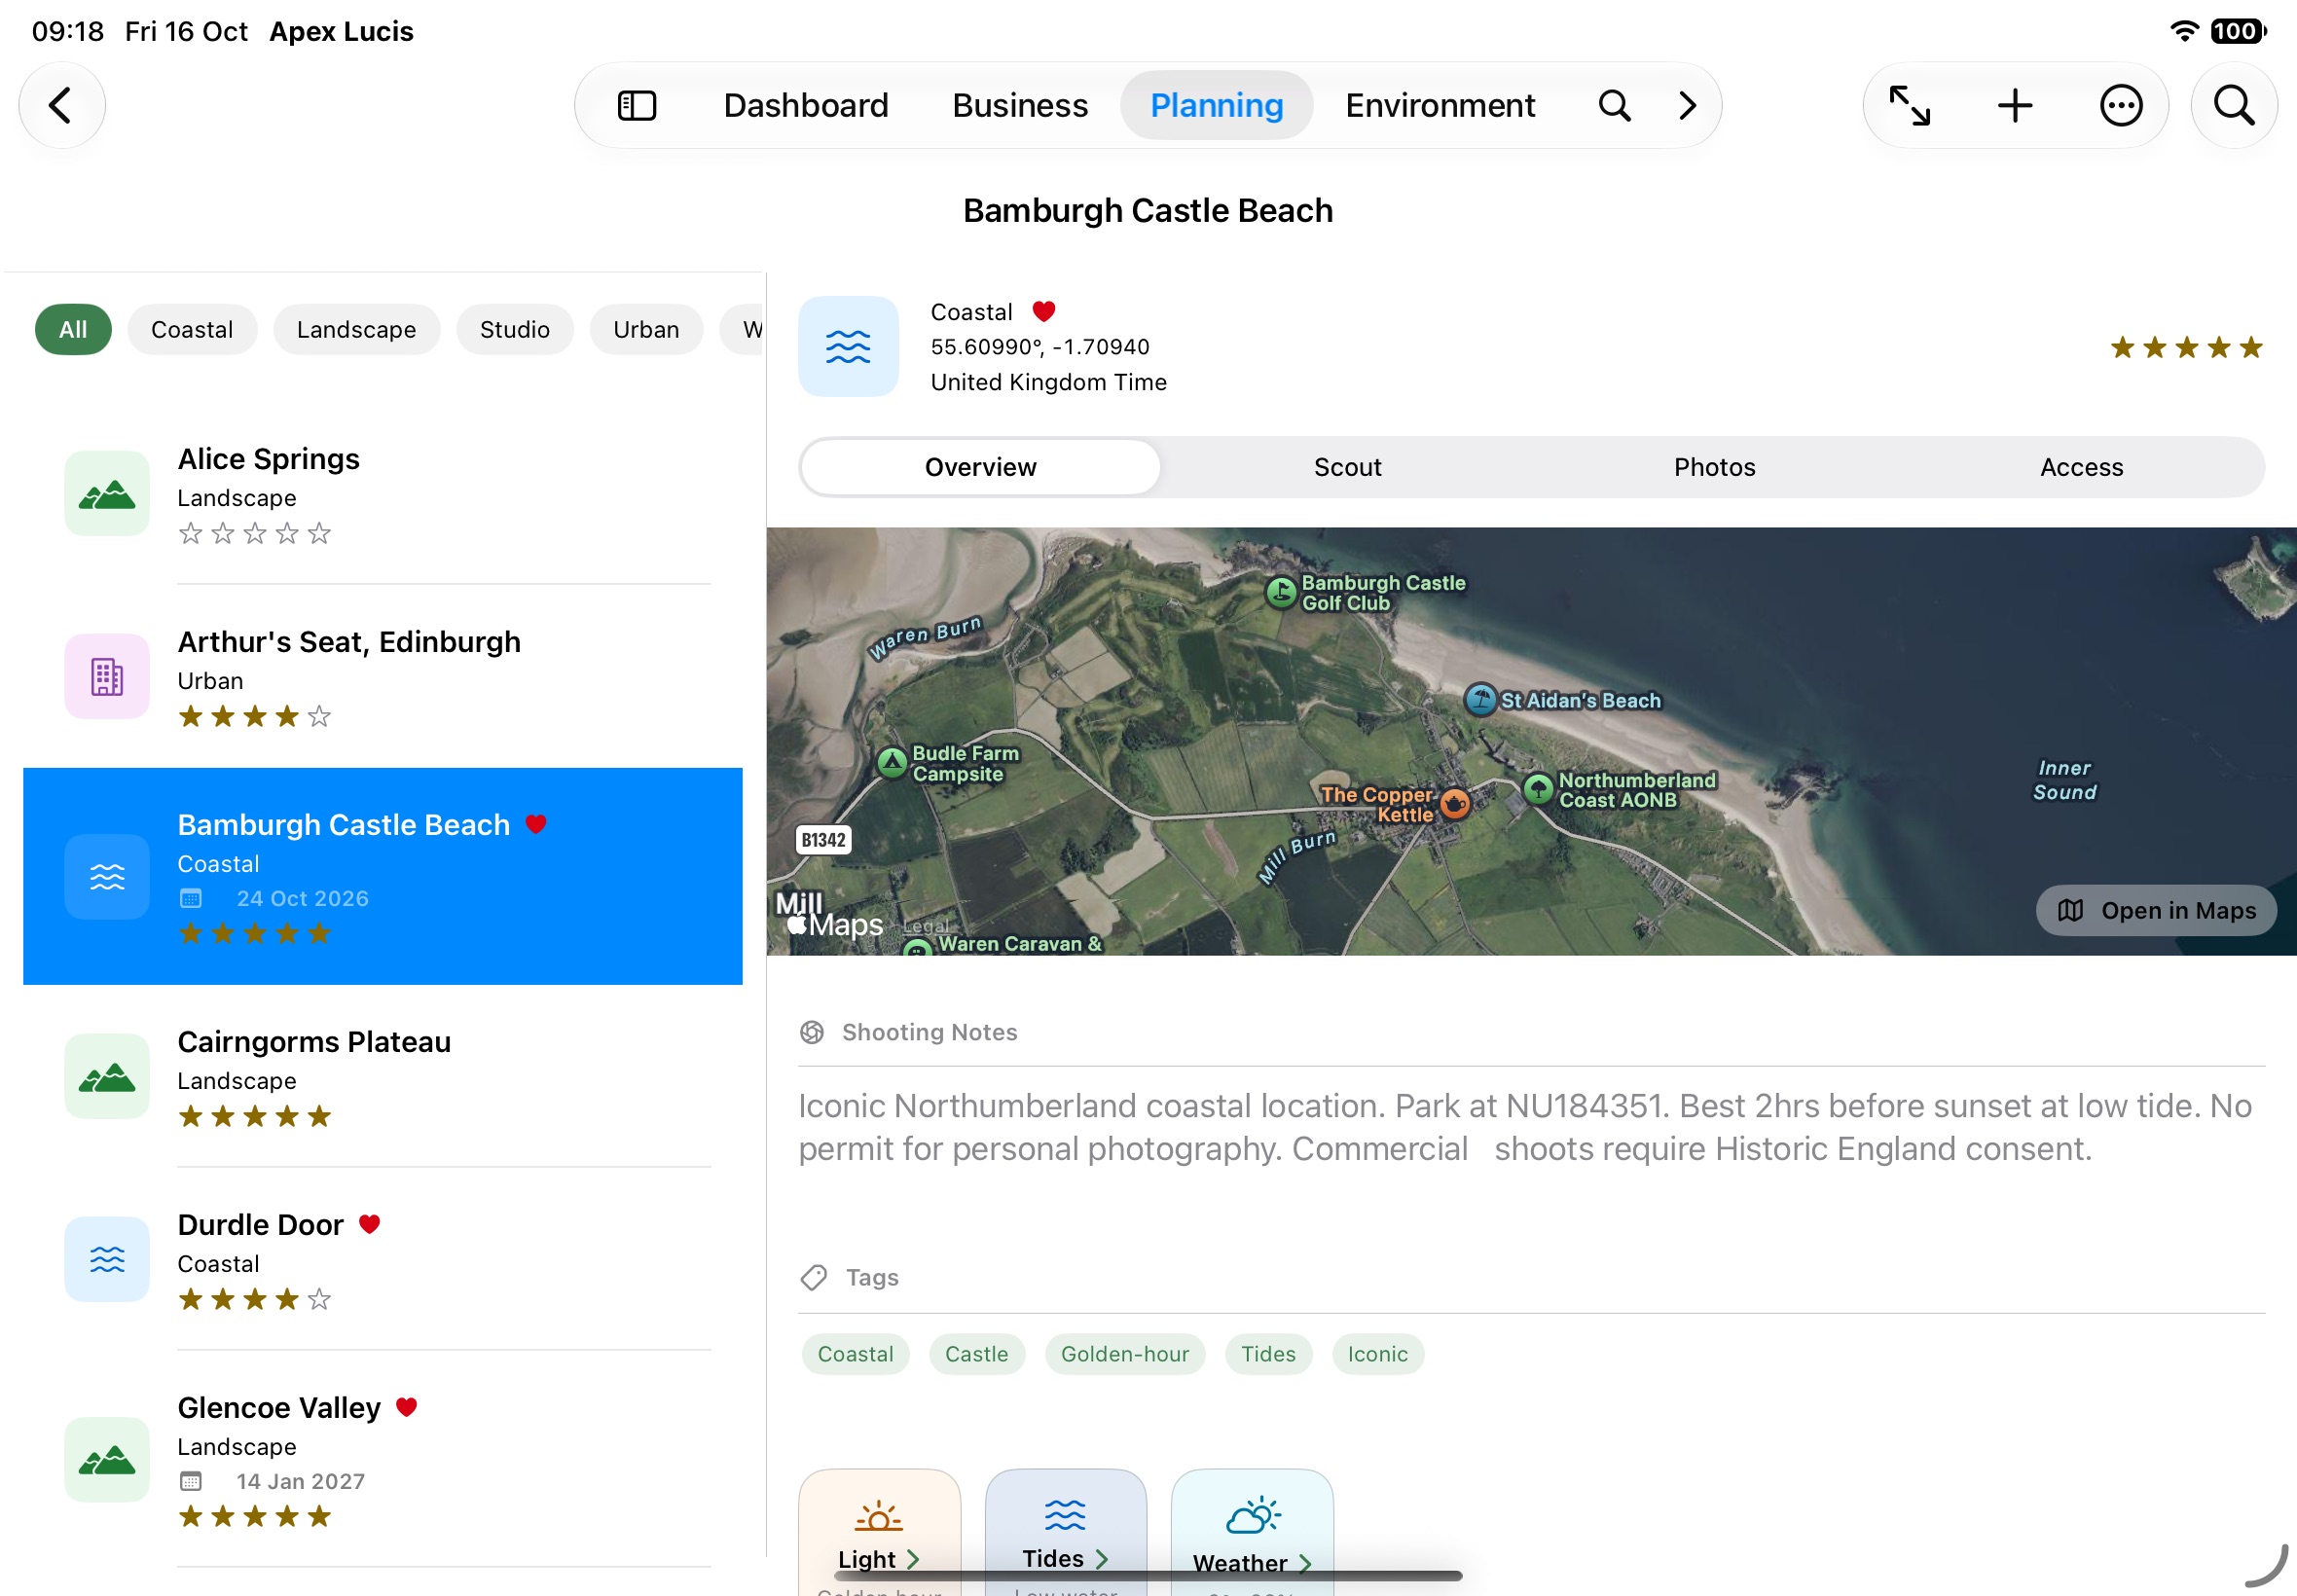
The location list can be filtered by type using the chips at the top:
- All
- Coastal
- Landscape
- Studio
- Urban
- Wildlife
- Favourites (locations you’ve pinned)
Search Locations finds a place by name. If a filter has nothing in it, the list says so and offers Show All.
Each row shows the next shoot booked there. The one your widgets use is marked Widget location.
On iPad and Mac, a map panel shows all your locations as pins.
Adding a Location
- Tap +, or Planning → New Location (⌃L) on a Mac
- Enter:
- Name (required)
- Type — Select from the location type list
- Rating — 1 to 5 stars
- Shooting Notes, Access and Tags — Anything useful to remember
- Tap Save
In the Map section you can search for towns, cities, places of interest or a postcode. Choosing one from the list moves the pin and fills in the name and address if they’re empty. If you’ve already typed a name, it’s kept, and the form offers to use the place’s name instead.
To place the pin exactly, tap Adjust on Map. Move the map under the pin, which stays in the centre, then tap Use This Location. You can also type the Latitude and Longitude.
The location’s coordinates are automatically captured from the address for use in all environmental calculations.
Location Detail Sheet
Tapping a location opens it, with its type, coordinates, altitude and rating at the top, and four tabs:
Overview Tab
- Your first reference photo, full width — tap it to open the gallery. Without photos, the map leads; tap it to open the place in Maps
- Address, shooting notes and tags
- Light, Tides, Weather and Wildlife cards that answer at a glance — the next golden hour, the next low water, “14° · 30% cloud”, how many species — and open the full screen
Scout Tab
- Today’s light for this location, in its own time: morning golden hour, sunrise, evening golden hour and sunset. If the location’s time zone differs from yours, it says so
- Today’s shoot conditions score and moon phase
- The Moon Alignment Planner
Photos Tab
- Photos of the location you’ve added
- Tap any photo to open the full-screen gallery viewer
- Pinch to zoom in the gallery
- Tap Add Reference Photo to add from your camera roll or take a new photo
Access Tab
- Getting there and parking notes
- Public access vs. private land
- Access restrictions (e.g., dawn to dusk only)
- Permits for this location — tap one to open it, or Add Permit
The More menu (⋯) holds Edit Location, Open in Maps, Use for Widget, Add Favourite and Delete Location.
Editing a Location
From the location, choose Edit Location from the More menu to modify any field.
Tap Adjust on Map to move the pin, or type coordinates directly — each keeps the other in step. Nothing is saved until you tap Save, so you can pan around to get your bearings without moving the location, and Cancel puts the pin back where it started.
Moving a location moves its timezone too. When you save a location whose pin has moved any real distance, Apex Lucis re-resolves its timezone. This matters more than it sounds: sunrise, sunset and golden hour are all reported in the location’s own time, so a location dragged from London to Auckland would otherwise report its light at the wrong time of day.
Tide Cut-Off
For a Coastal location where the water can cut you off — a sand flat, a causeway, a beach below a cliff — set a Safe Height in the location’s edit sheet.
It is the water height, in metres above chart datum, at which the place stops being safe for you. Type a number using your usual decimal separator or a full stop; if it isn’t a height, the field says so and Save waits until it is. Every booking at that location then shows when the tide will reach it and how long that leaves you. See Tide Cut-Off on a booking.
The field is empty until you fill it in, and it only appears for a Coastal location — on both a new location and an edit. Switch the type away from Coastal and the height is cleared.
Turn the alert on per booking in its Alerts, where it appears once the location has a height. It arrives an hour before the water reaches it.
Apex Lucis cannot know what height is safe where you shoot. Set it from local knowledge or official advice, and leave yourself a margin.
A tide prediction does not account for weather, surge or the shape of the ground. Official local tide tables, harbour authorities and coastguard advice come first. See Settings → Disclaimer.
Pinning a Location as a Favourite
Choose Add Favourite from the location’s More menu. Favourites appear in the Dashboard’s quick-access strip and under the Favourites chip. Remove Favourite takes it off.
Deleting a Location
Swipe a location in the list and tap Delete, or choose Delete Location from its More menu. Apex Lucis asks first and says what happens to everything attached: bookings, shot lists, permits and call sheet slots there are kept and simply lose their location, while its photos and scouting and access notes go with it.