Getting Started
First Launch & Onboarding
When you open Apex Lucis for the first time, a five-step onboarding flow walks you through initial configuration. You cannot skip this, and it only runs once.
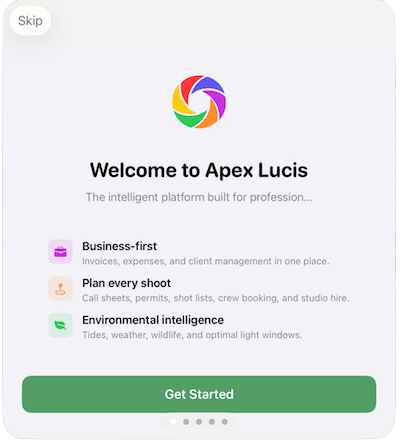
Step 1 — Welcome A feature overview showing Apex Lucis’s three modules. Read through or tap Get Started to continue.
Step 2 — Business Settings This screen allows you to enter your business information. This will be used on PDFs generated within the application.
Step 3 — Regional Settings Set your:
- Currency — Used on all invoices and financial reports
- Units — Select the unit you prefer to work with
- Tax rate — Enter as a percentage (e.g., 20 for UK VAT, 10 for Australian GST, 0 for no tax)
- Tax label — What appears on invoices (VAT, GST, Tax, etc.)
Important: Set your units accurately. Changing these later might show values incorrectly.
Step 4 — Shoot Types Select the types of photography you offer (portrait, commercial, editorial, wedding, landscape, product, event, other). These appear as defaults when creating bookings and packages.
Step 5 — Ready Review your settings and tap Let’s Go to enter the main app.
This screen also offers to fill Apex Lucis with example data — a season of shoots, the clients behind them, the invoices they raised and the locations they happened at. It is a good way to see how the modules fit together before you enter anything of your own, and it is off unless you ask for it. Add or remove it at any time in Settings → Sample Data.
Tip: All onboarding settings can be changed at any time in Settings.
Editing records
Every screen that edits a record — a booking, a client, an invoice, a location, a gear item — works the same way.
- Your changes are held in the sheet until you tap Save. Nothing is written before that.
- Cancel discards everything you changed and leaves the record exactly as it was. If you have unsaved changes, Apex Lucis asks before throwing them away.
- Save stays greyed out until there is something valid to save — a client with no name at all, or a booking with no title, cannot be saved.
This matters most where you can see the record behind the sheet: nothing you type changes it until you commit.
Settings screens are the exception, and behave the way system settings do: changes apply as you make them, and there is no Save or Cancel to press.