Toolkit
Overview
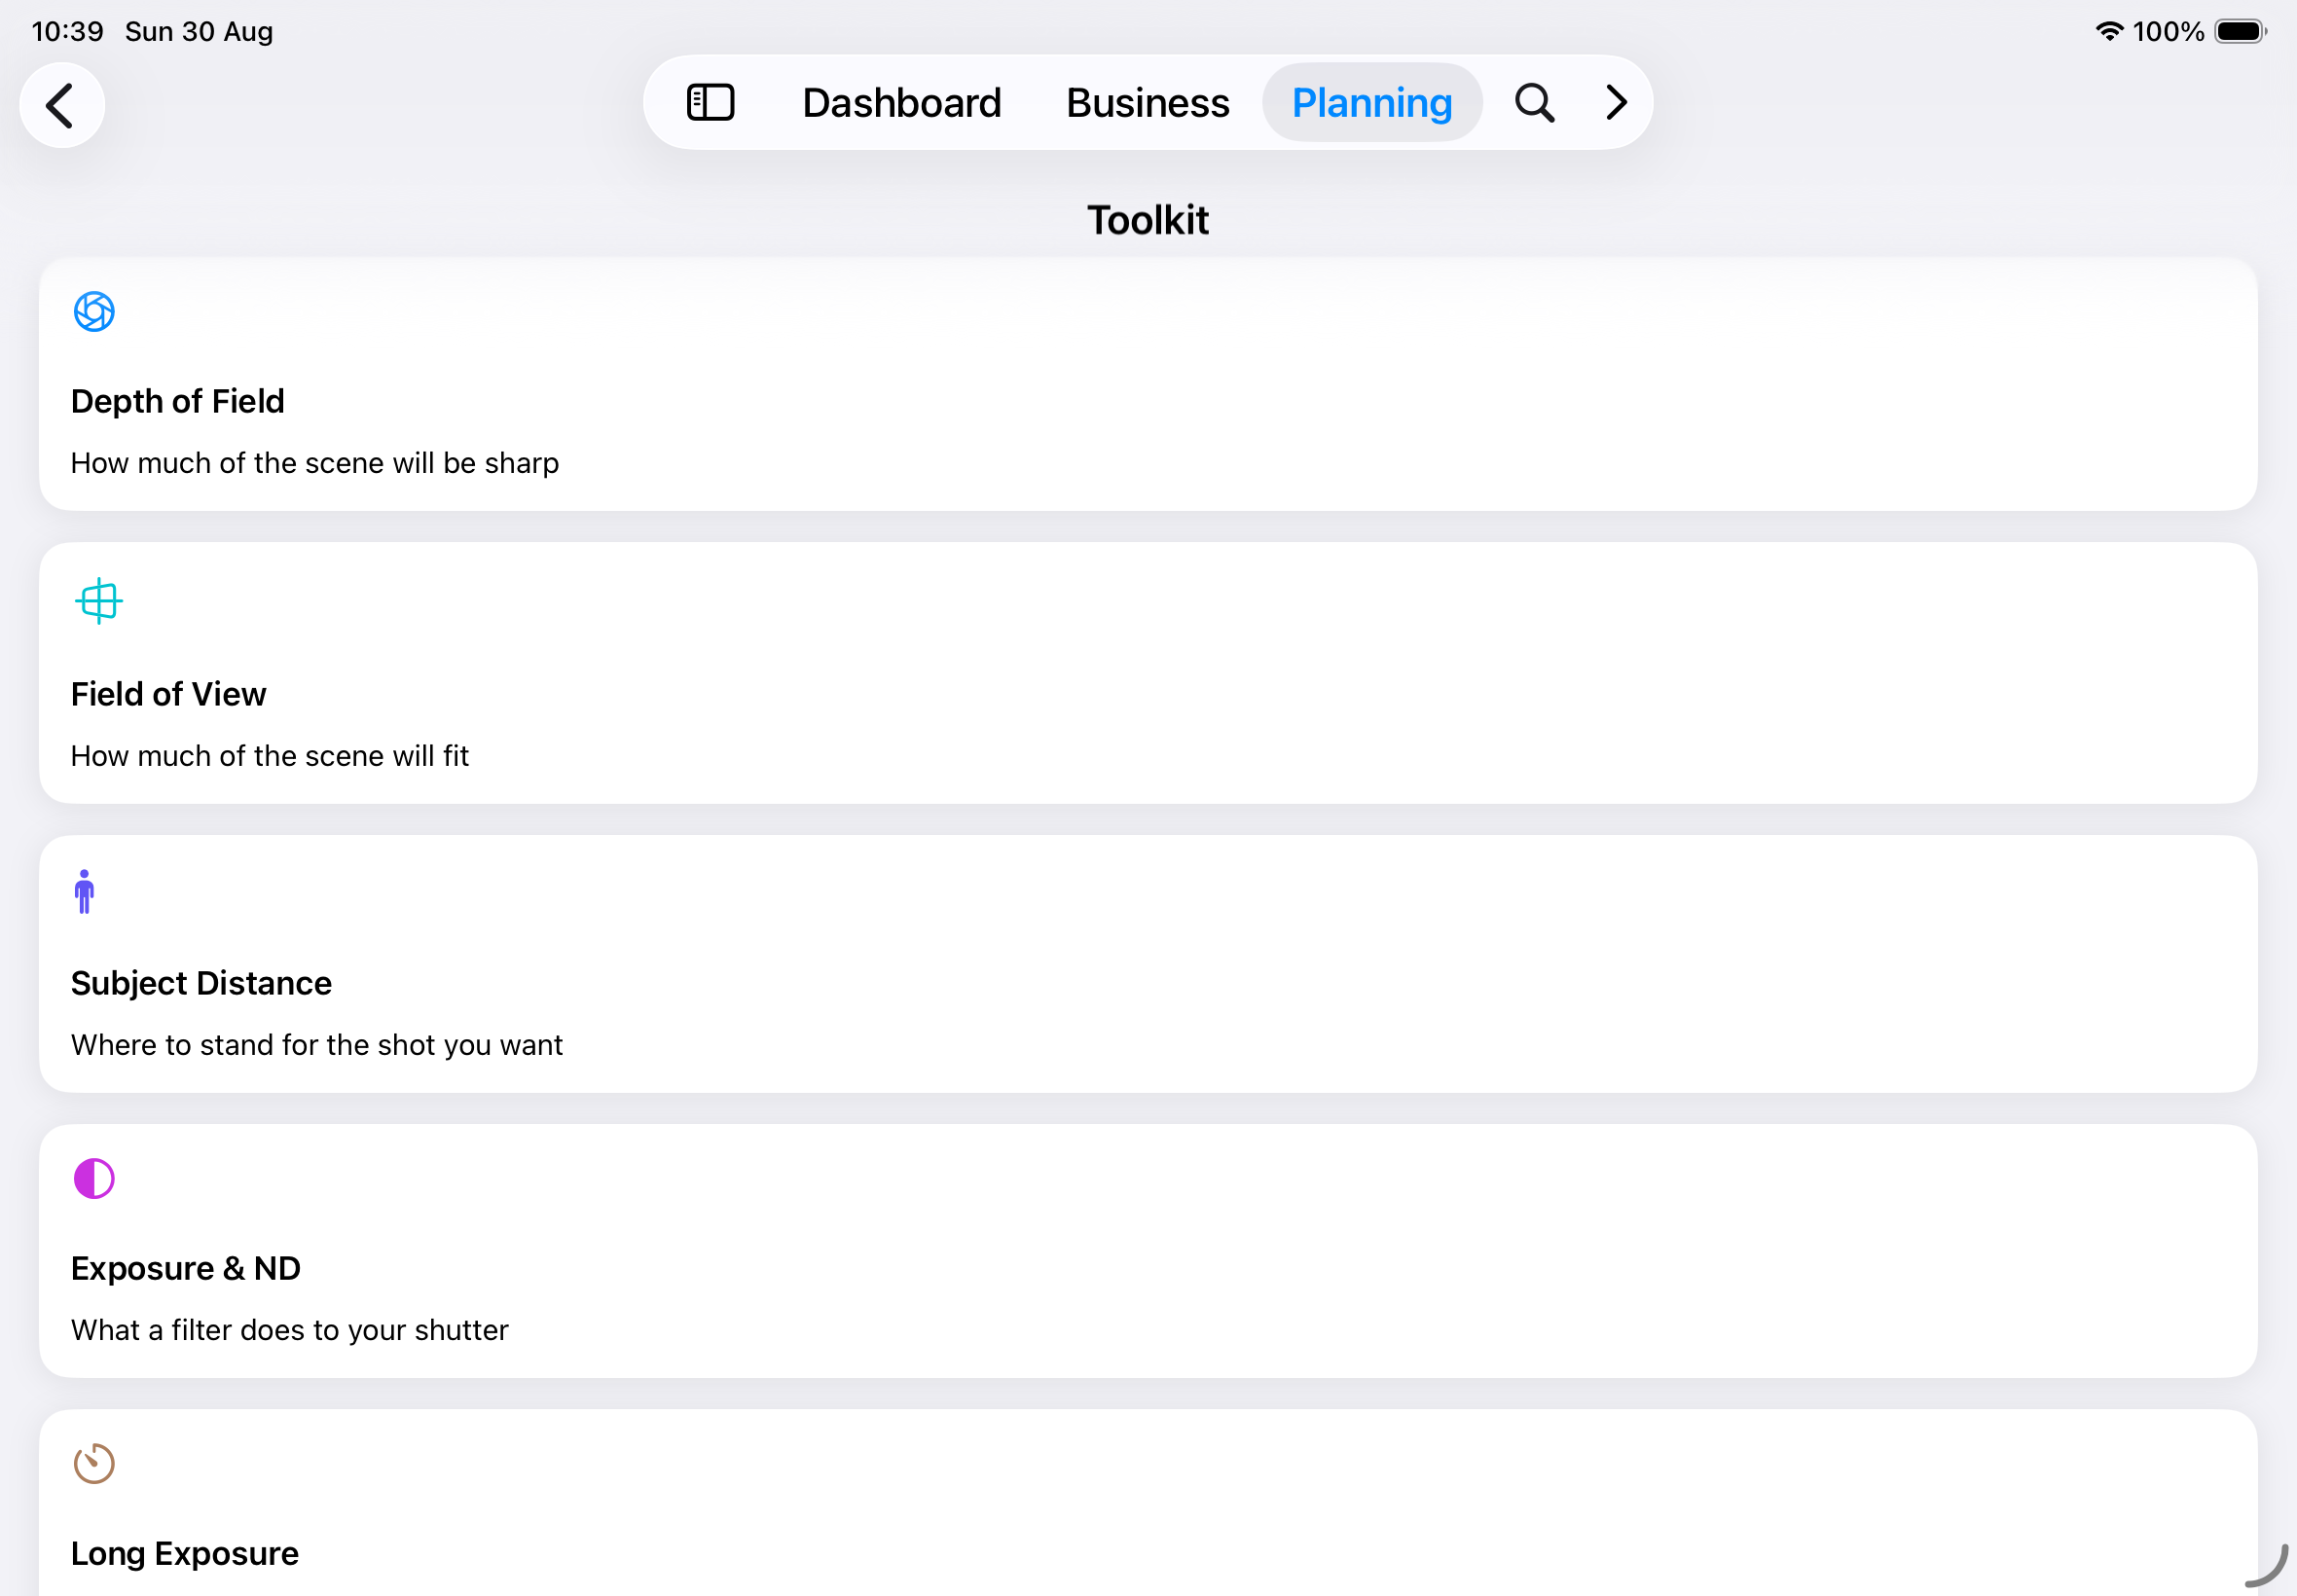
Eight photographic calculators that work from the kit you actually own. Pick a camera and a lens once and every calculator uses them — how much will be sharp, how much will fit, how long you can expose before the stars streak, how much card space a timelapse needs.
Accessing the Toolkit
Planning tab → Toolkit
Your Kit
Every calculator opens with a Your Kit card at the top holding Camera, Lens and Focal length. Choose them once and the rest of the screen answers for that combination. Your choice carries between calculators, so working out the depth of field and then the field of view for the same shot takes no re-picking.
The cameras and lenses offered are the ones in Gear. A body with no sensor format set still works — the calculators fall back to full frame — but a body you have told the app about answers for the camera in your bag rather than for a generic one.
Tip: If a calculator says it needs your sensor resolution, open the camera in Gear and fill in Resolution (MP). The two star calculators need it and no format has a standard figure.
The Eight Calculators
| Calculator | Answers |
|---|---|
| Depth of Field | How much of the scene will be sharp |
| Field of View | How much of the scene will fit |
| Subject Distance | Where to stand for the shot you want |
| Exposure & ND | What a filter does to your shutter |
| Long Exposure | Which filter reaches the shutter you want |
| Spot Stars | How long before stars stop being points |
| Timelapse | Frames, running time and card space |
| Star Trails | How long the sky needs to draw an arc |
Depth of Field
Set Distance to subject and Aperture. The scale shows the near and far limits of what will look sharp, and where your focus point sits between them.
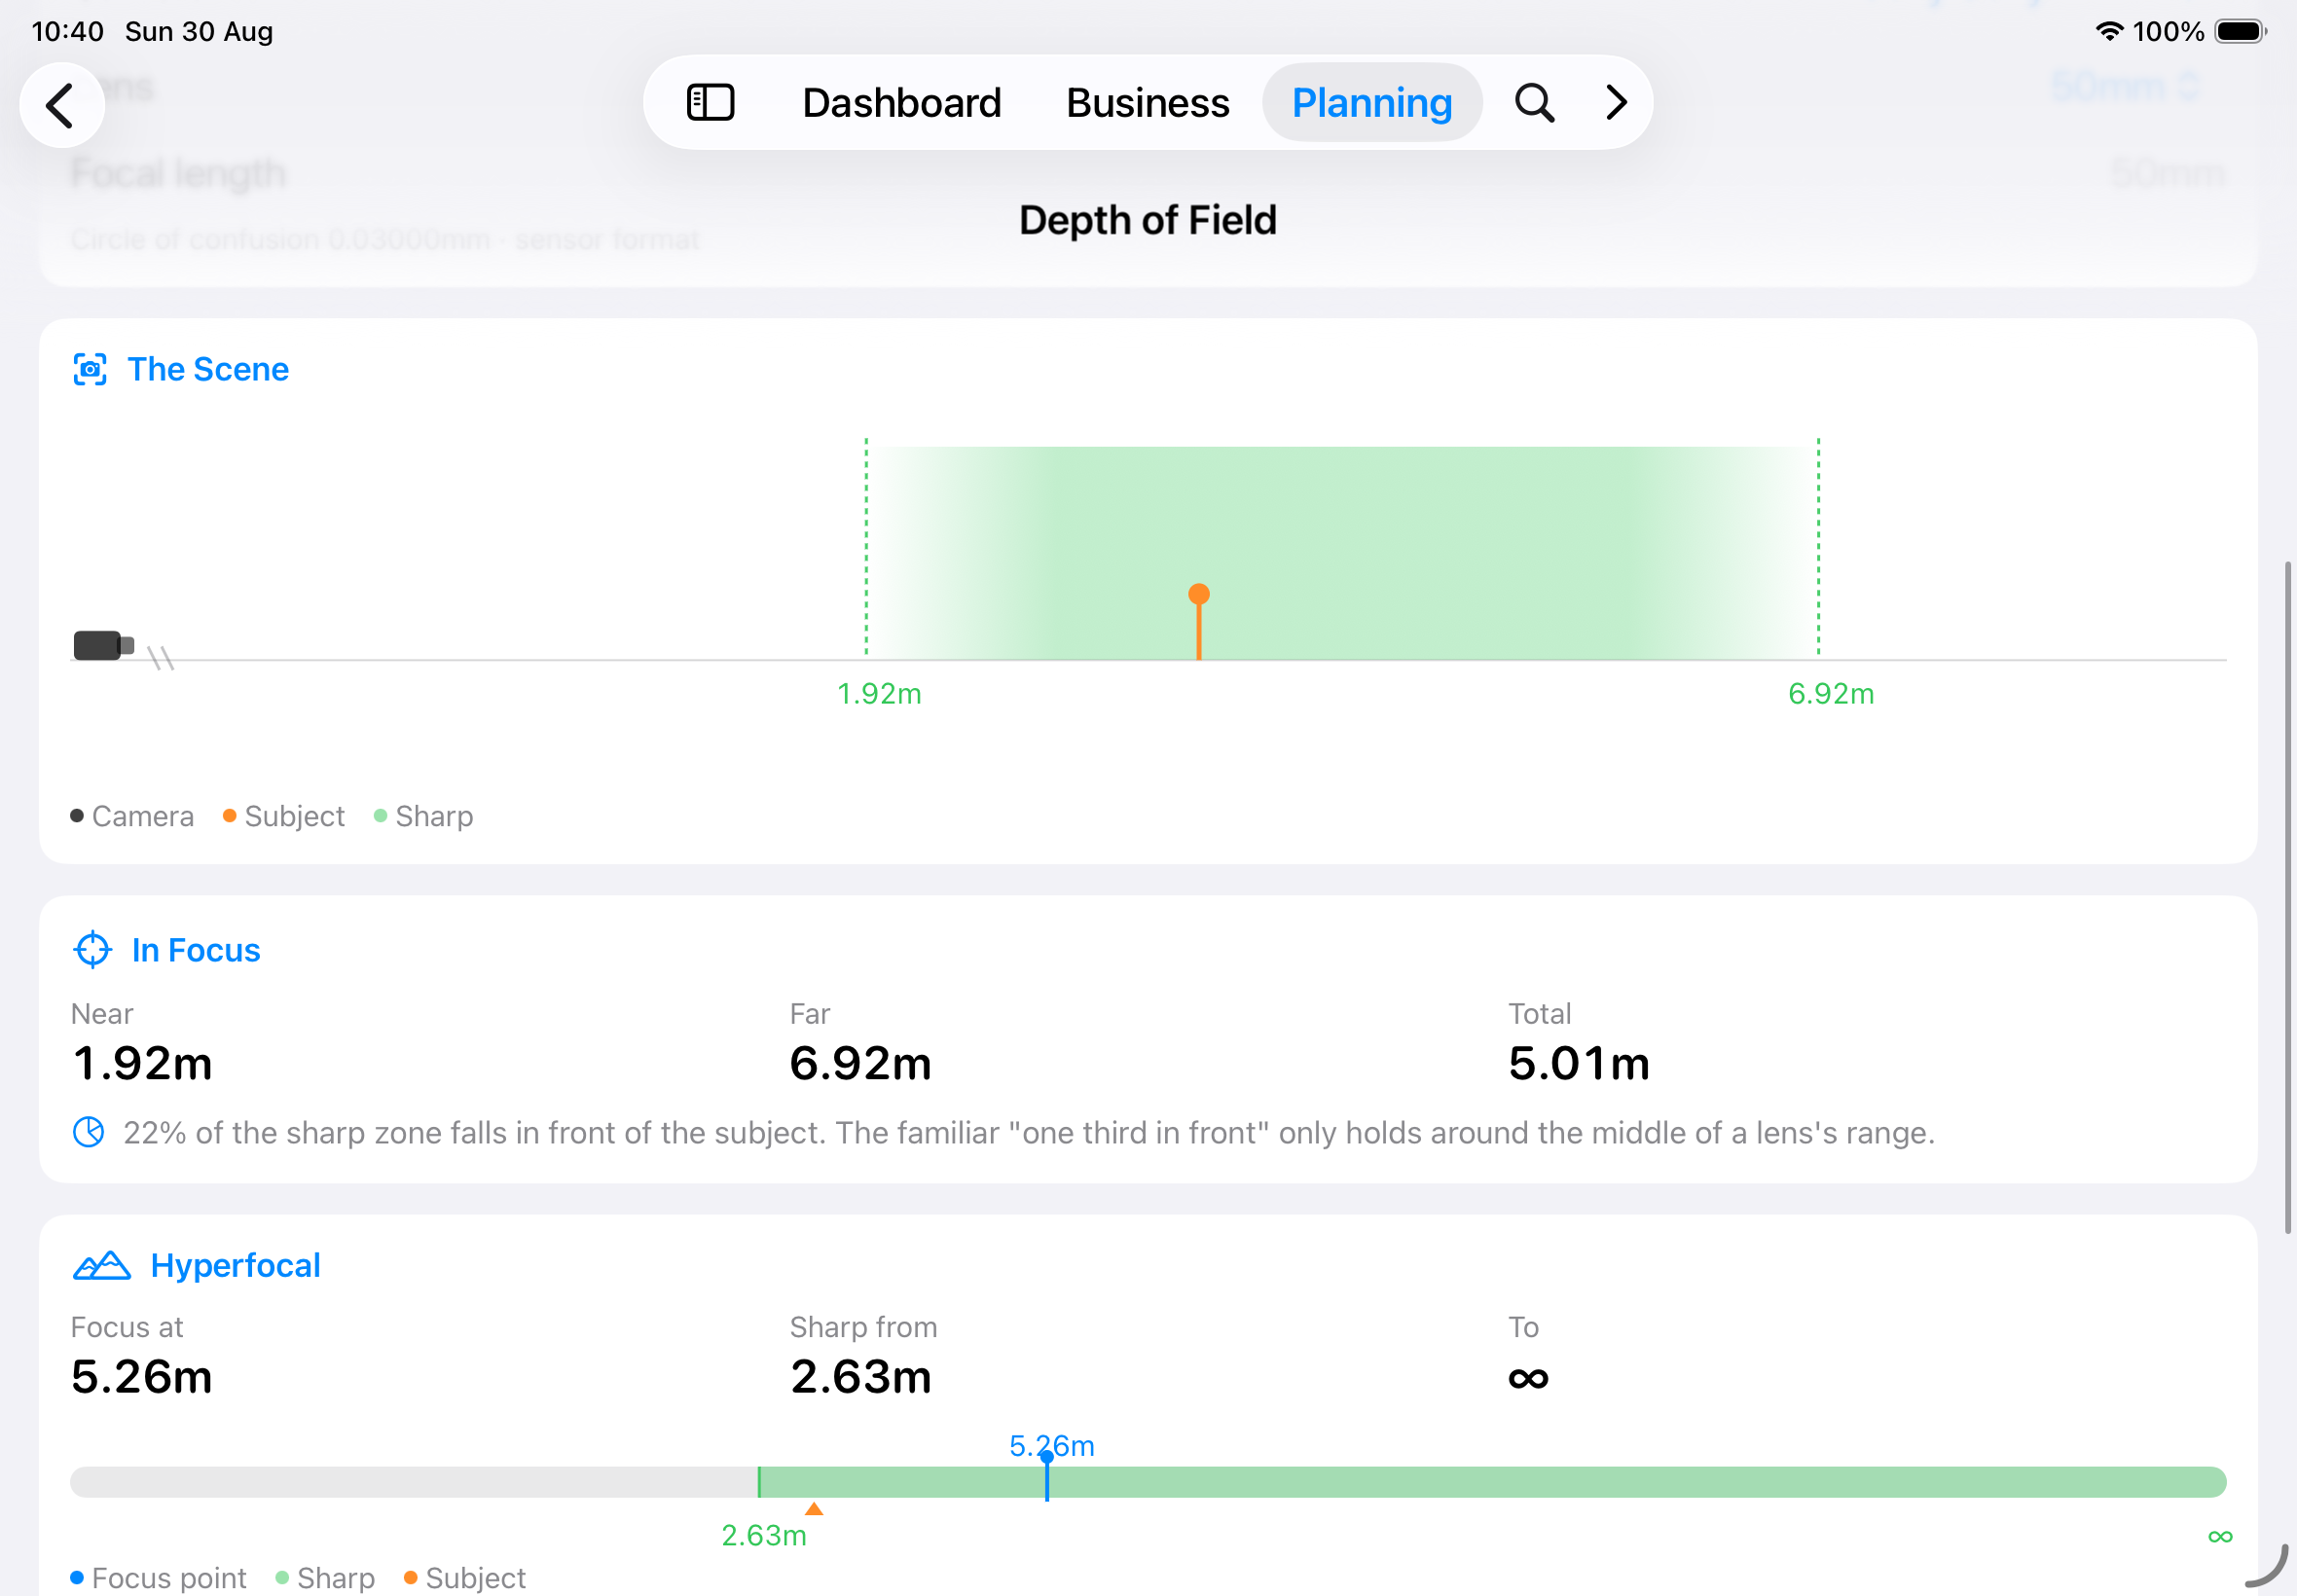
Only one distance is ever truly in focus. Either side of it sharpness falls away gradually, and the band that still reads as sharp is what you are choosing when you set an aperture.
Hyperfocal
The panel below the scale gives the hyperfocal distance for the same camera, lens and aperture — focus there and everything from half that distance to infinity is sharp. It is the setting for a landscape where the foreground matters as much as the hills.
Field of View
How wide a view the lens gives, and what that comes to at the distance you are standing. Orientation switches between landscape and portrait.
It depends on the focal length and the size of the sensor behind it, and on nothing else — which is why there is no aperture on this screen.
Subject Distance
The field of view asked backwards. Enter the Height and Width of what you want in frame and it works out how far back to stand.
Use the width for something wider than it is tall — a building, a car, a group. It will also tell you when a lens simply cannot focus that close.
Exposure & ND
Put a neutral density filter in front of a metered reading and this gives the shutter speed that holds the exposure. Set Shutter, Aperture and ISO for the unfiltered scene, then choose a filter Strength.
Every stop the filter holds back doubles the time, so ten stops is not ten times longer — it is a thousand.
Long Exposure
The same relationship, started from the other end. Say what Total exposure you want and it works out the filter that reaches it.
The strength you need is rarely one anybody sells, so it also tells you what the nearest real filter would actually give you.
Tip: Thirty seconds smooths water; two minutes flattens it to glass and pulls cloud into streaks. Decide which you want before you pick the filter.
Spot Stars
The longest exposure that still records stars as points rather than short streaks, using the NPF rule.
Unlike the older 500 rule it knows your aperture and how tightly your sensor packs its photosites, which is why it needs the resolution recorded in Gear. Declination sets how far from the celestial equator you are pointing — stars near the pole move more slowly, so you can hold the shutter open longer.
Trailing tolerance is how much movement you are willing to accept. Tighten it for a print, loosen it for a frame that will only ever be seen on a screen.
Timelapse
Frames, interval and running time are three views of one relationship, so tell it the two you know and it works out the third.
Solve for picks which. The common one is the Event duration — how long you will have to stand there for the clip you want.
| Control | Means |
|---|---|
| Event | How long the thing you are shooting takes, start to finish |
| Shooting interval | The gap between frames |
| Clip length | How long the finished video runs |
| Frames per second | The frame rate you will export at |
It also estimates the card space, from an Image size (MB) you can set to match your own files.
Star Trails
How far the sky turns in the time you give it, and how long an arc that draws in your frame.
The sky turns at the same rate whatever you point at. What changes is how far from the pole you aim — Declination again — which is the difference between tight curls around Polaris and long sweeps across the frame.
Tip: Spot Stars and Star Trails are the same question asked in opposite directions. If Spot Stars says twelve seconds, anything past that is a trail — the choice is whether you want one.
Where the figures come from
The calculators use standard values for your sensor format — the same figures published tables and other apps quote, so the answers line up with them.
For more precision, edit a camera in Gear and add its exact sensor dimensions or circle of confusion. Real sensors sit slightly under the nominal size, and a body’s own figures are used wherever you record them.
Note: Sensor dimensions affect field of view and framing, not depth of field. Circle of confusion affects depth of field and hyperfocal distance. Resolution is what the two star calculators need.
The calculators inside other screens
The same engines answer questions elsewhere in the app rather than only on this screen. Moon Alignment uses depth of field and the distance between your two pins to tell you whether a single focus setting holds both the landmark and the moon.