Gear Manager
Overview
Track all your photography equipment — what you own, its condition, when it was last serviced, and what insurance covers it. Group gear into kits for quick assignment to shoots.
Accessing Gear
Planning tab → Equipment Manager
The Gear Manager has four tabs:
Inventory Tab
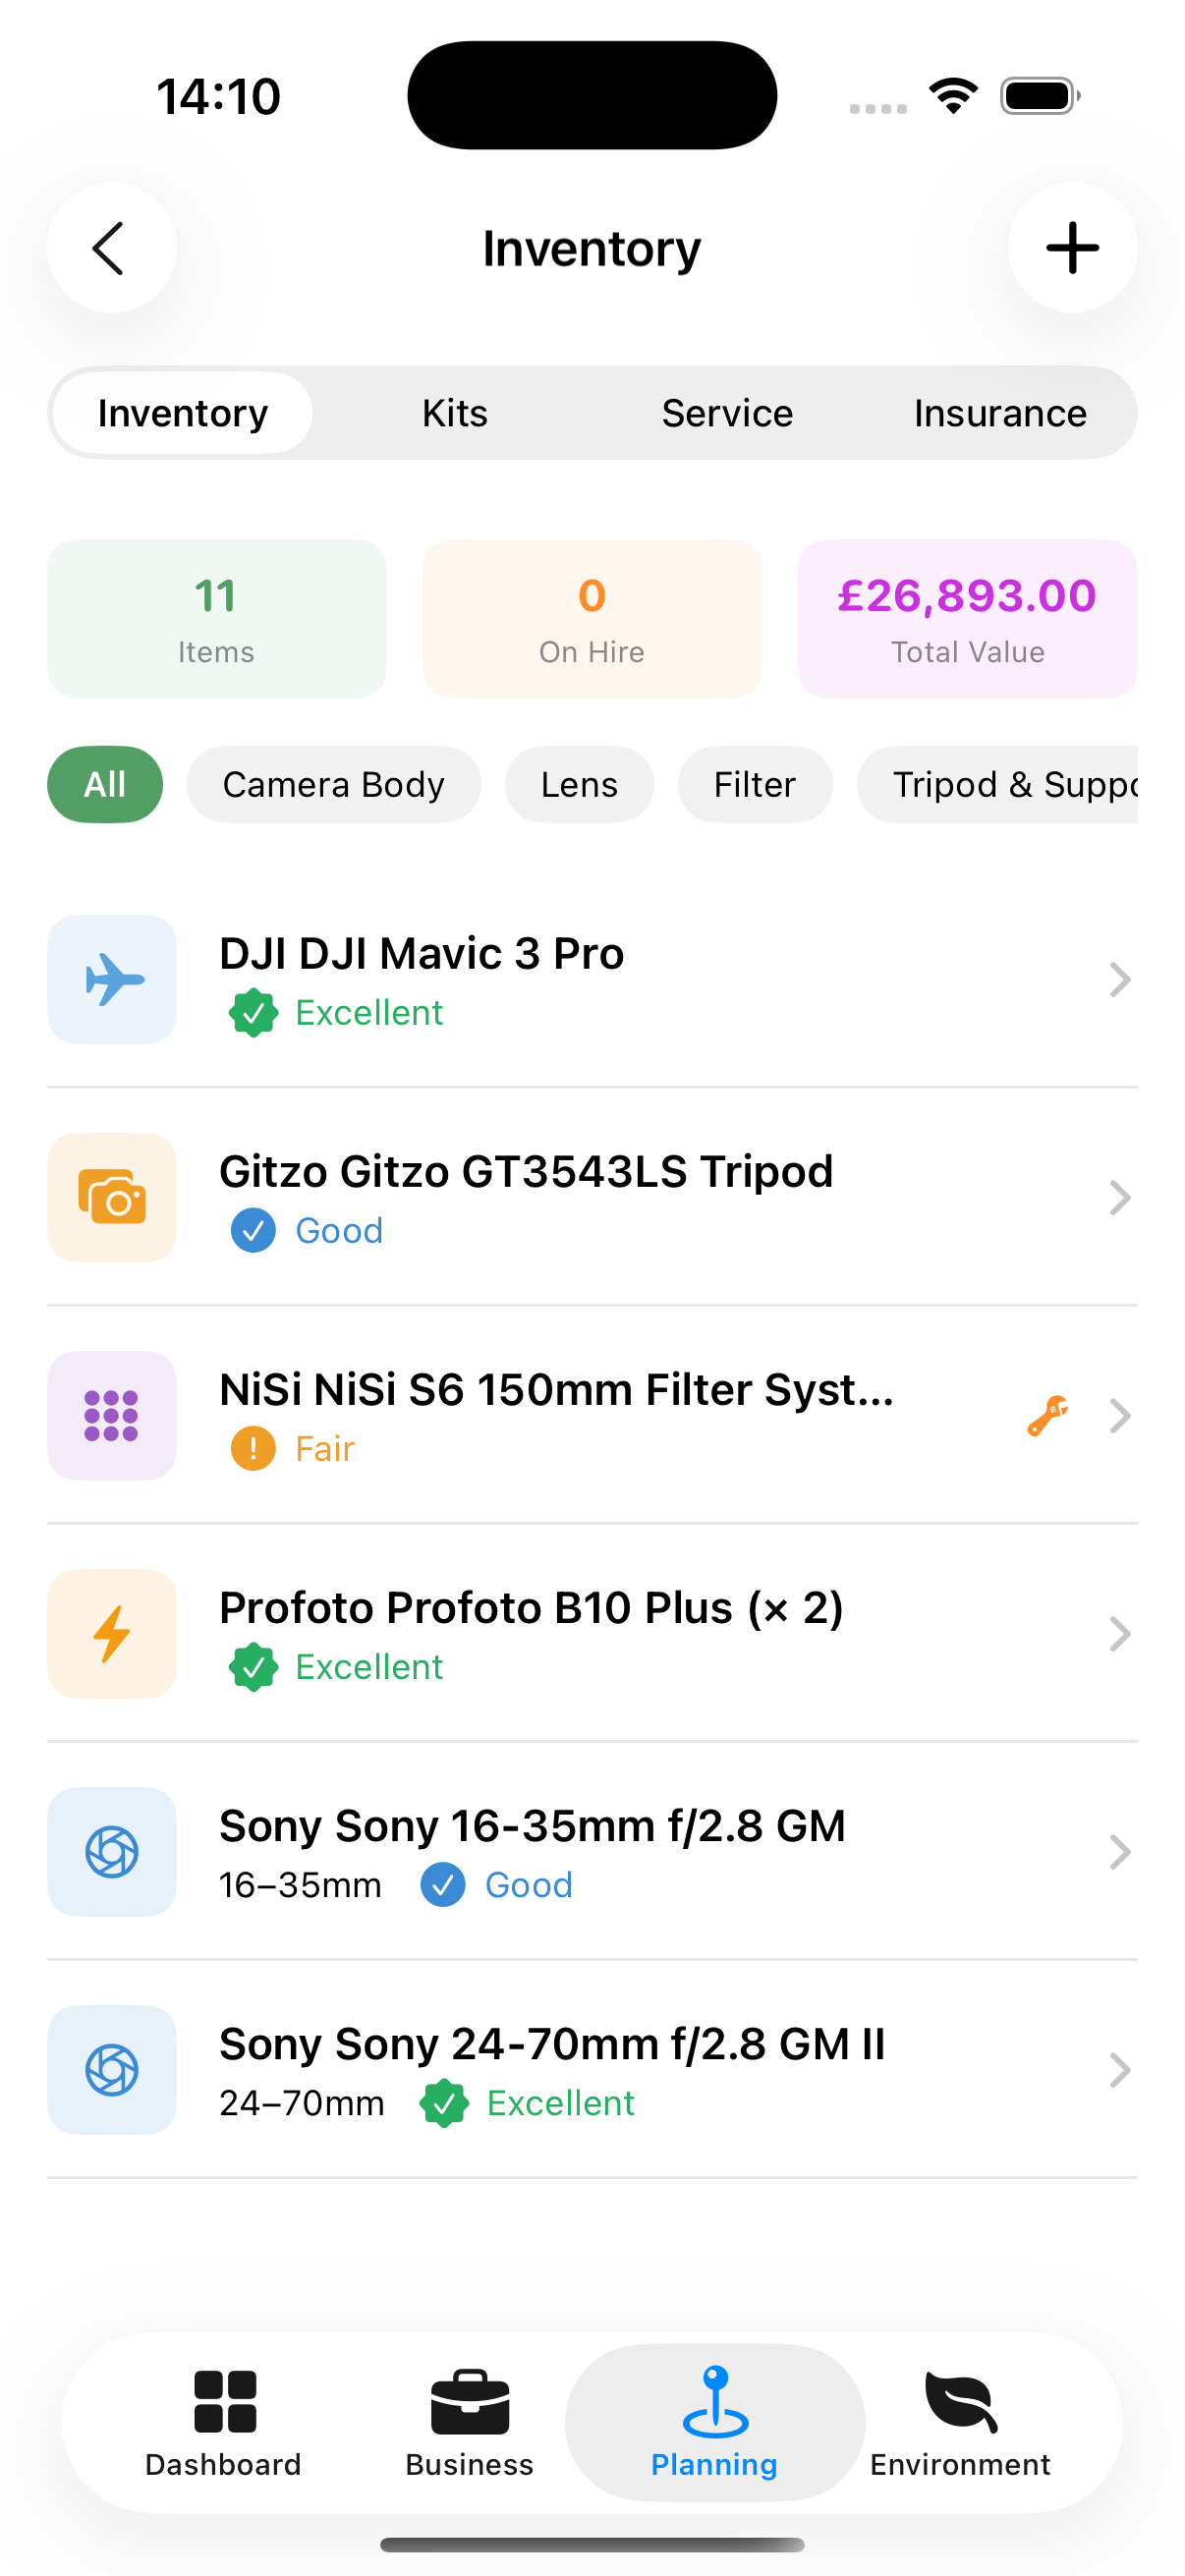
A list of all your equipment. Each item shows:
- Name and model
- Category (Camera, Lens, Tripod, Light, etc.)
- Condition (Excellent / Good / Fair / Poor)
Tap any item to open its detail screen with full specifications, purchase details, and service history.
To add gear:
- Tap +
- Enter name (required), and category, brand/model, serial number,
- Set the purchase price, and insured value to track insurance
- Set current condition
- Tap Save
Cameras and Lenses
A camera body and a lens each get a section of their own in the add and edit sheets, holding the figures the Toolkit calculators work from. None of it is required — the calculators fall back to standard values for the format — but a body you have described answers for the camera in your bag rather than a generic one.
Sensor (camera bodies)
| Field | What it does |
|---|---|
| Format | Full frame, APS-C, Micro Four Thirds and the rest. Sets the standard figures everything else falls back to |
| Circle of confusion | How much blur still reads as sharp. Leave it blank to use the standard figure for the format |
| Sensor width and height | Only worth entering if you know your body’s exact measurements. They affect field of view and framing, not depth of field |
| Resolution (MP) | Needed to work out your pixel size |
Resolution is the one worth filling in. There is no standard figure for a format, so Spot Stars and Star Trails stay unavailable until you enter it.
Lens Specs (lenses)
Focal length range, the widest aperture at each end of the zoom, and the narrowest. A prime takes the same figure at both ends of the focal range.
Tip: Fill these in once for the two or three bodies and lenses you actually shoot with. Everything in the Toolkit, and the sharpness check on Moon Alignment, reads them from here.
Kits Tab
Kits are named groups of equipment you commonly use together — for example, a “Landscape Kit” containing your wide-angle lens, tripod, and filters.
To create a kit:
- Tap +
- Name the kit
- Choose Items from your Inventory
- Tap Save
Kits can then be assigned to specific call sheet slots so your team knows exactly what to bring.
Service Tab
A log of all maintenance activity. Filter by status:
- Pending — Service due or scheduled
- In Progress — Currently being serviced
- Completed — Service done
To add a service record:
- Tap + on an Inventory Item.
- Choose the service type (Service / Repair / Cleaning / Maintenance)
- Enter the date, cost, and notes
- Set the next service reminder date
- Tap Save
Insurance Tab
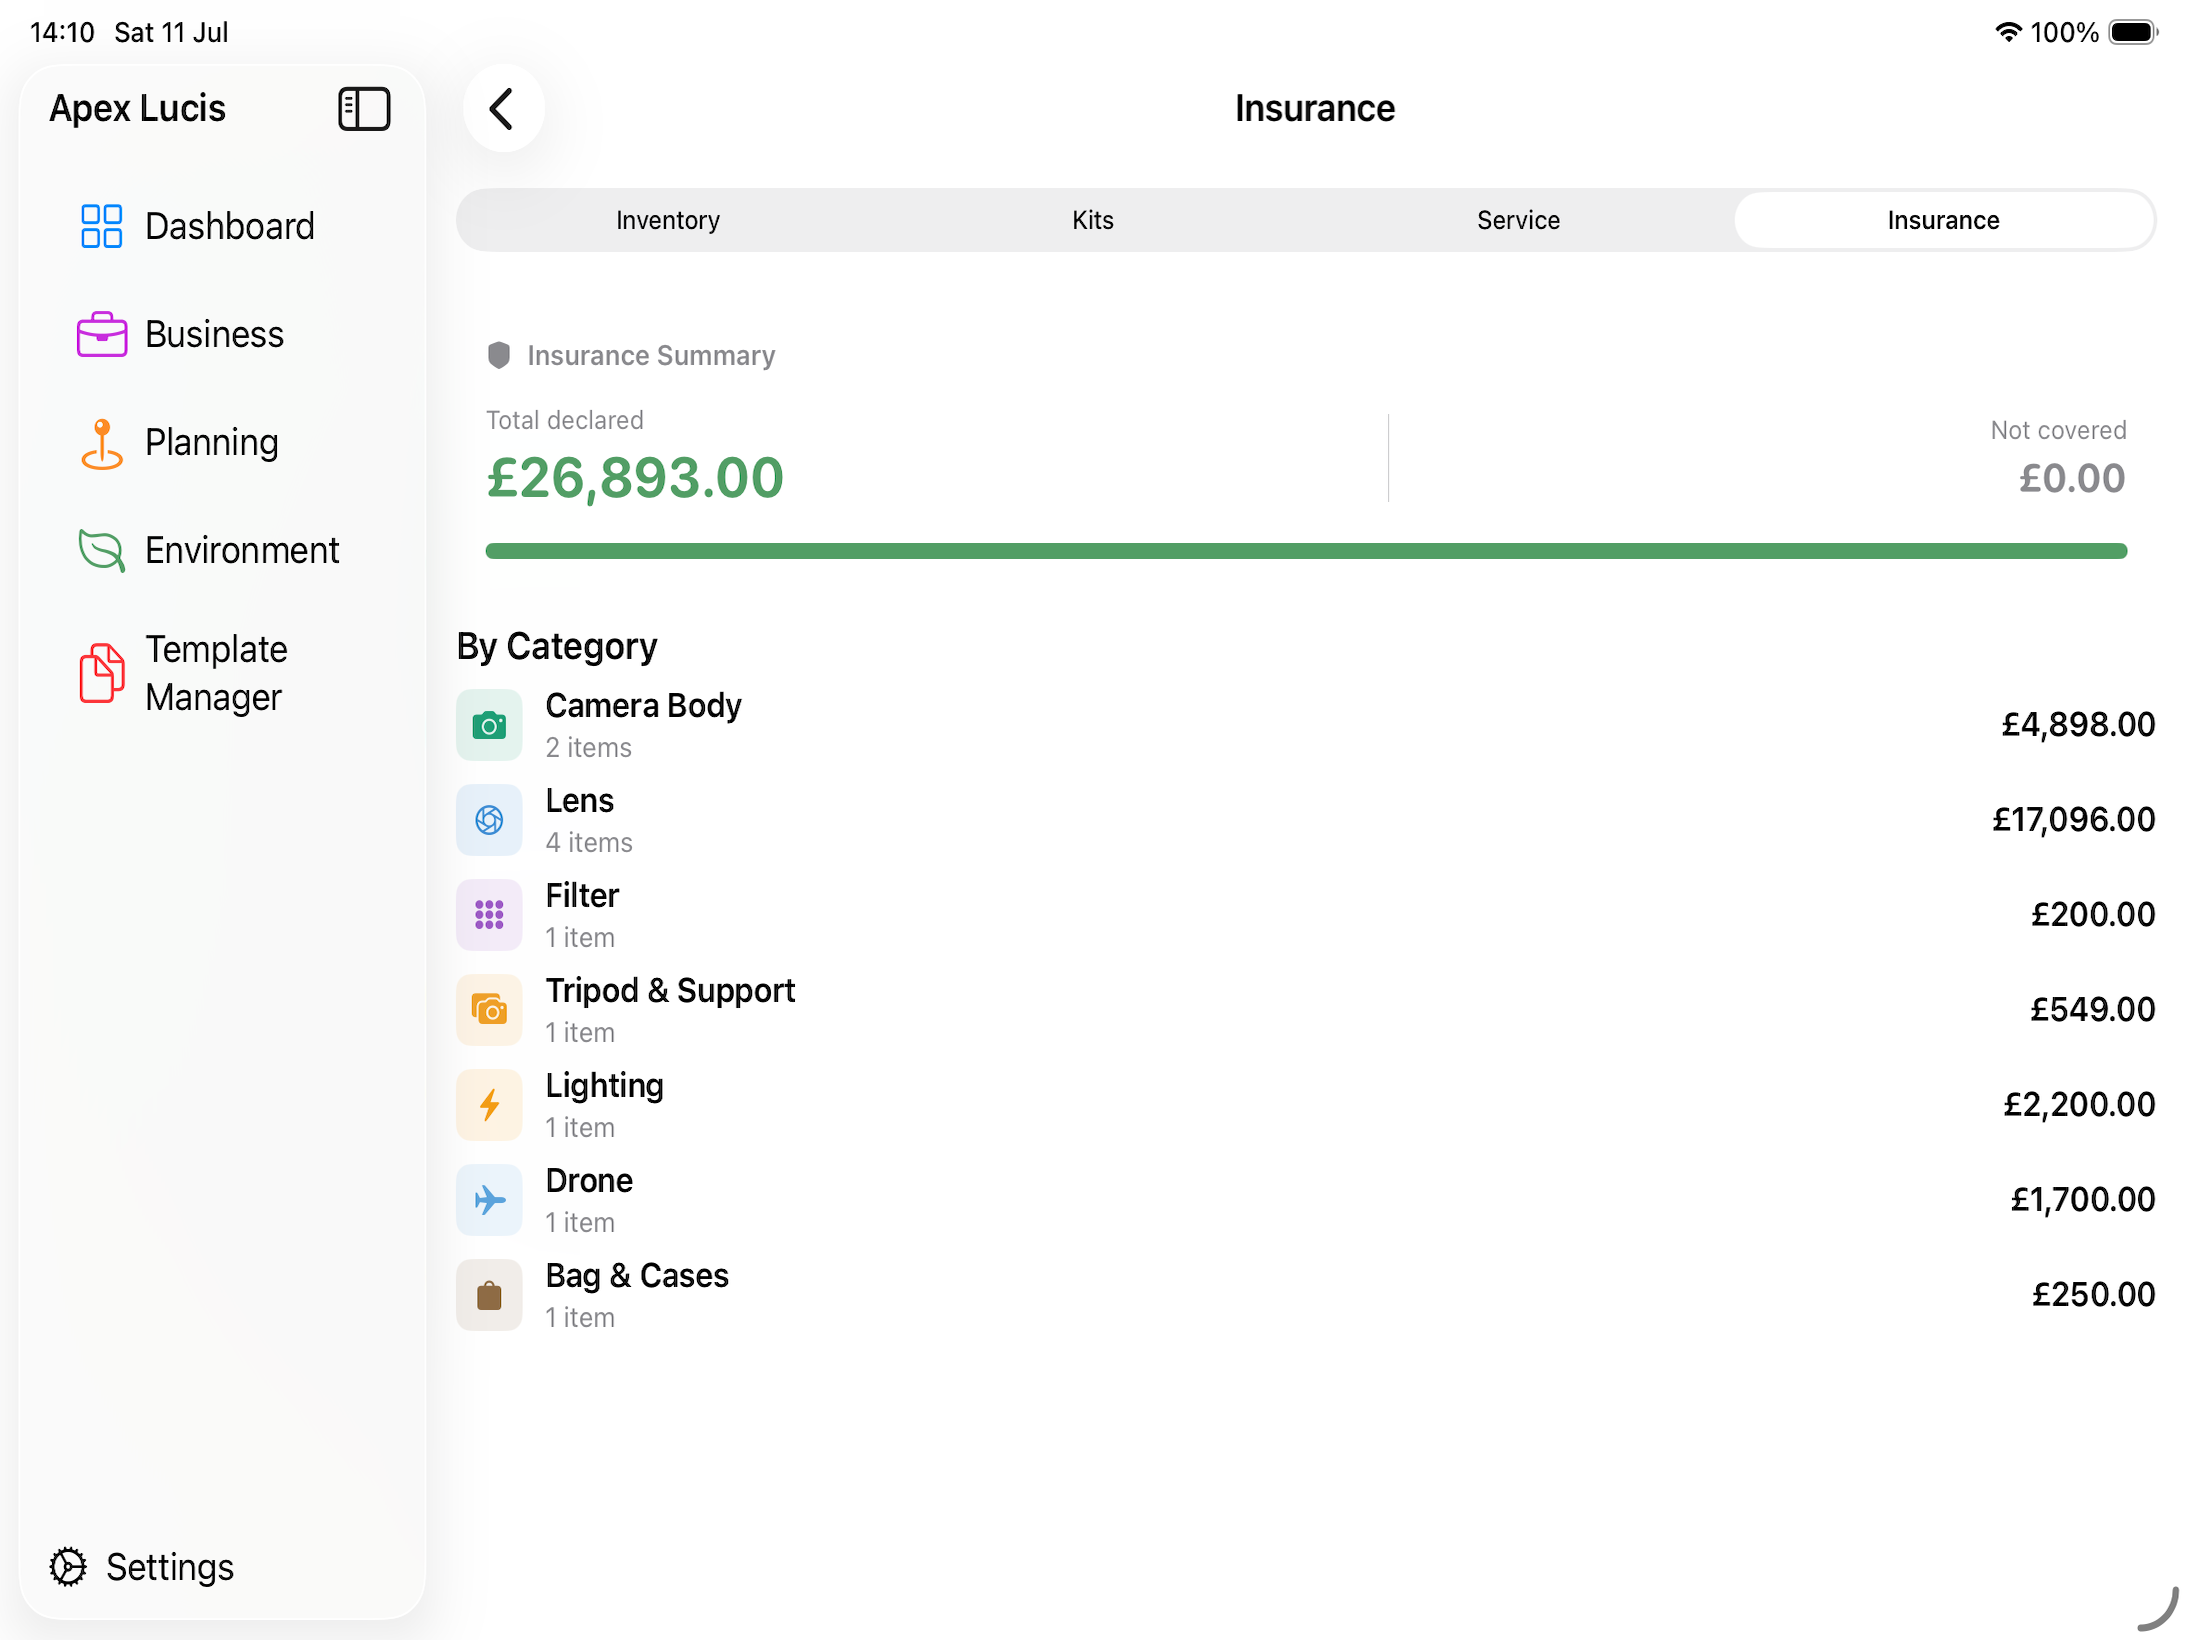
Track which equipment is covered by which insurance policy. Enter:
- Coverage amount
- Items covered
Tip: Add a service reminder before your insurance renewal date so you can check your equipment’s value is still correctly insured.