Trips
Overview
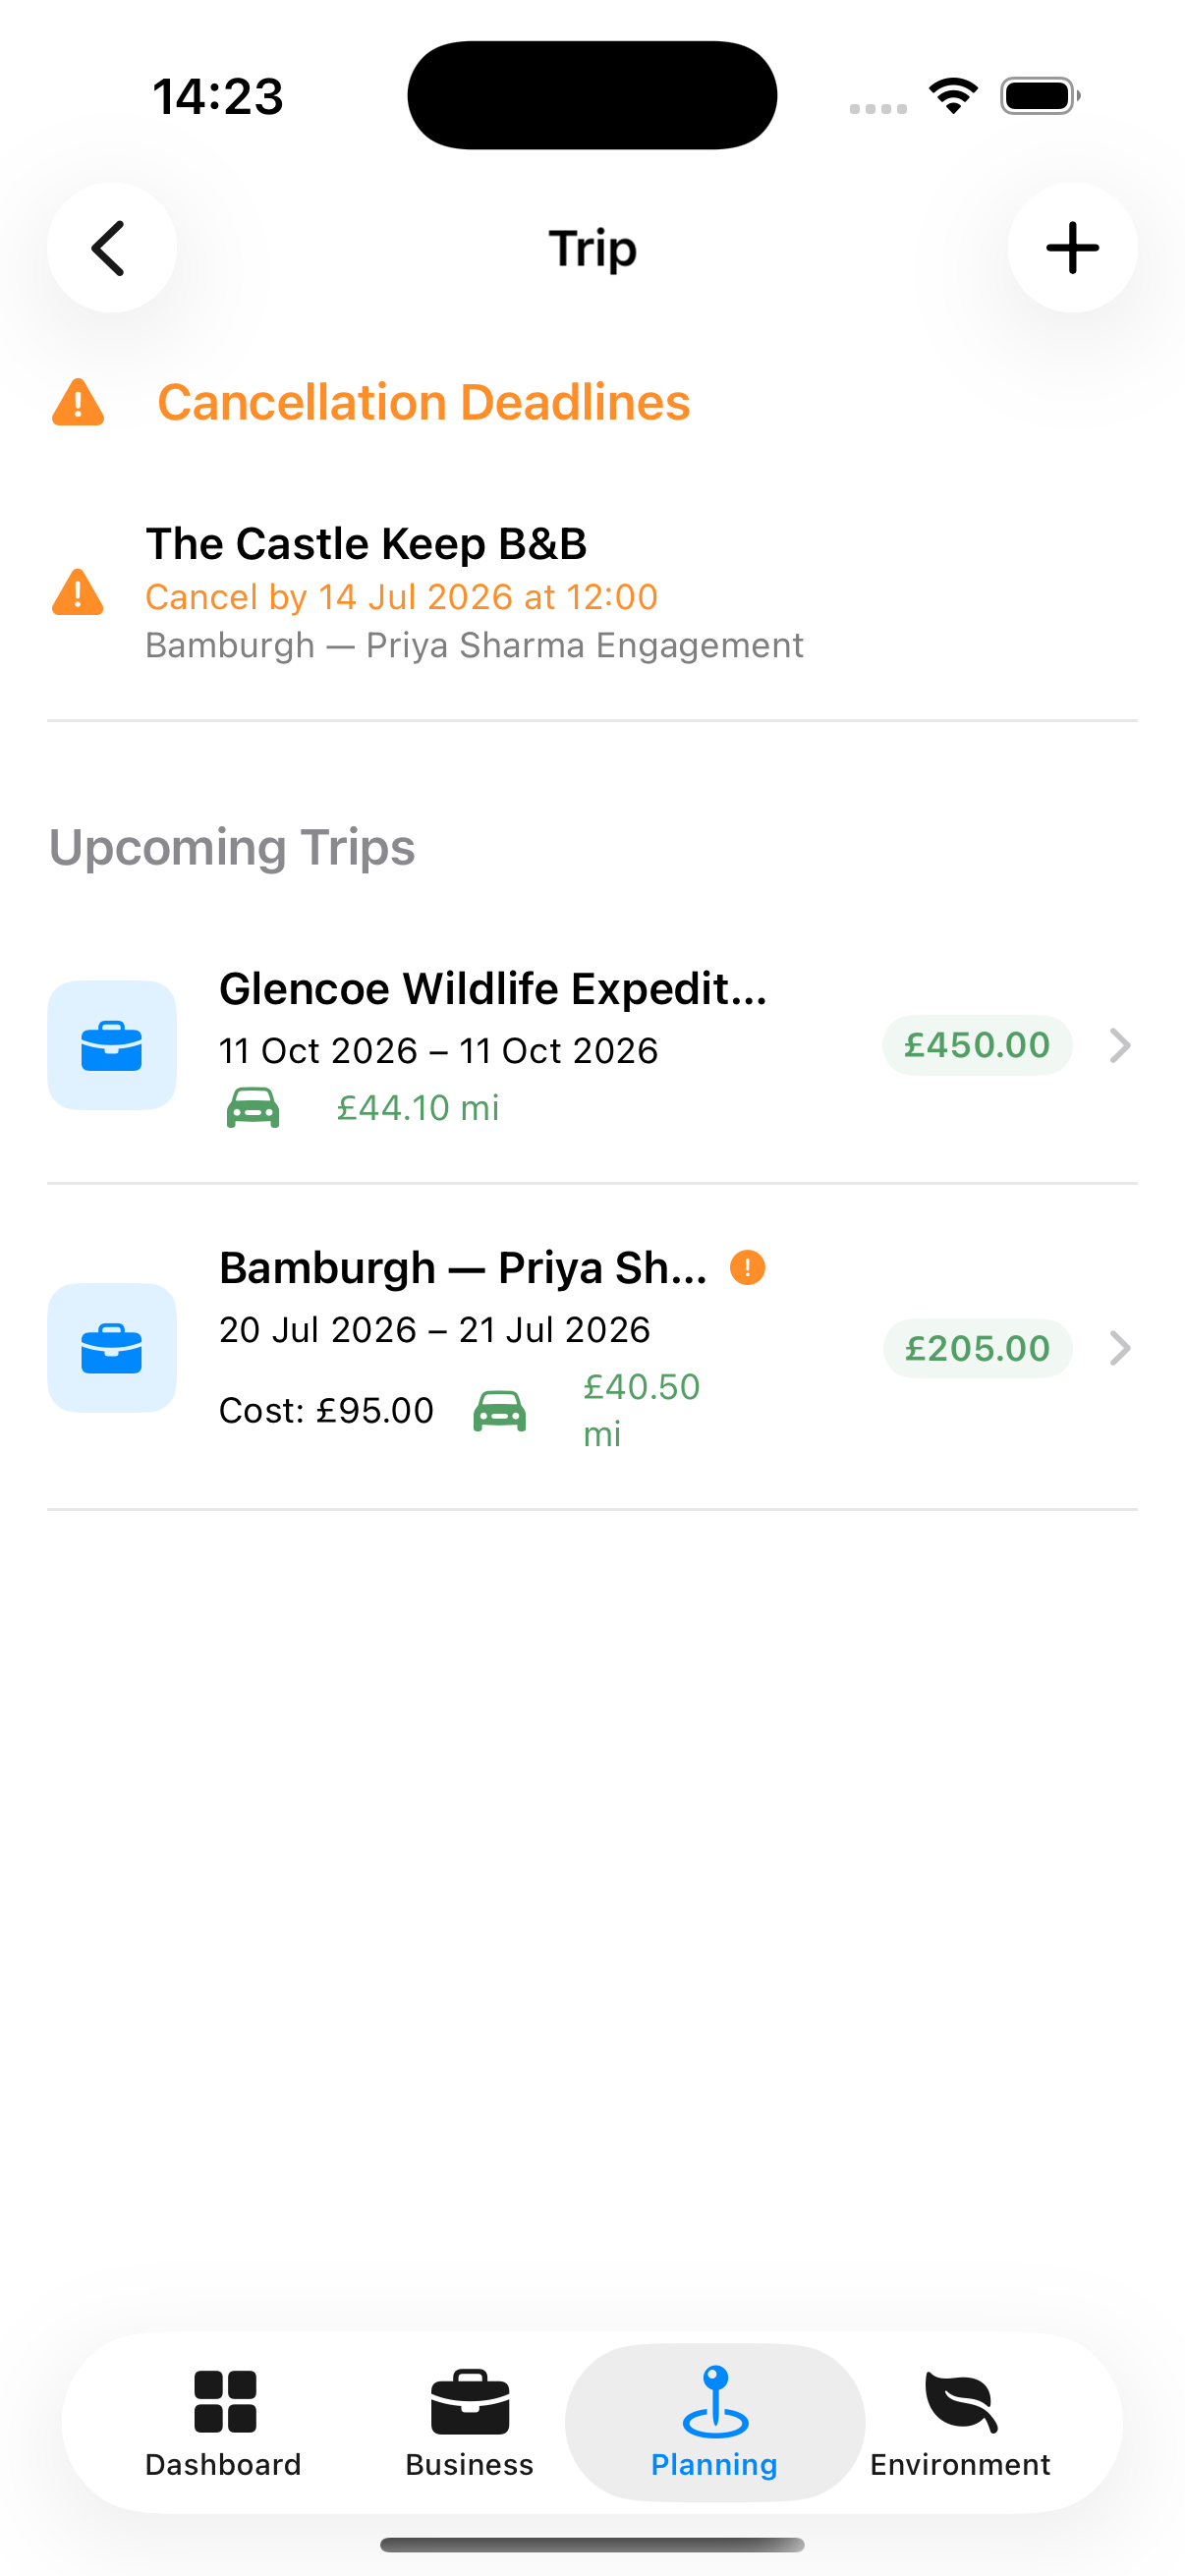
If a shoot requires travel — flying to a location, staying overnight, driving significant distances — the Trip Planner tracks your accommodation and travel legs in one place, calculates mileage claims, and keeps all costs in view.
iPhone iPad/Mac
Accessing Trips
Planning tab → Trip Planner
Trips can also be accessed from inside a booking’s supplementary options.
Creating a Trip
- Tap +
- Enter:
- Trip name (required)
- Linked booking (optional)
- Dates
- Notes
- Tap Save
Adding Accommodation
From the trip detail:
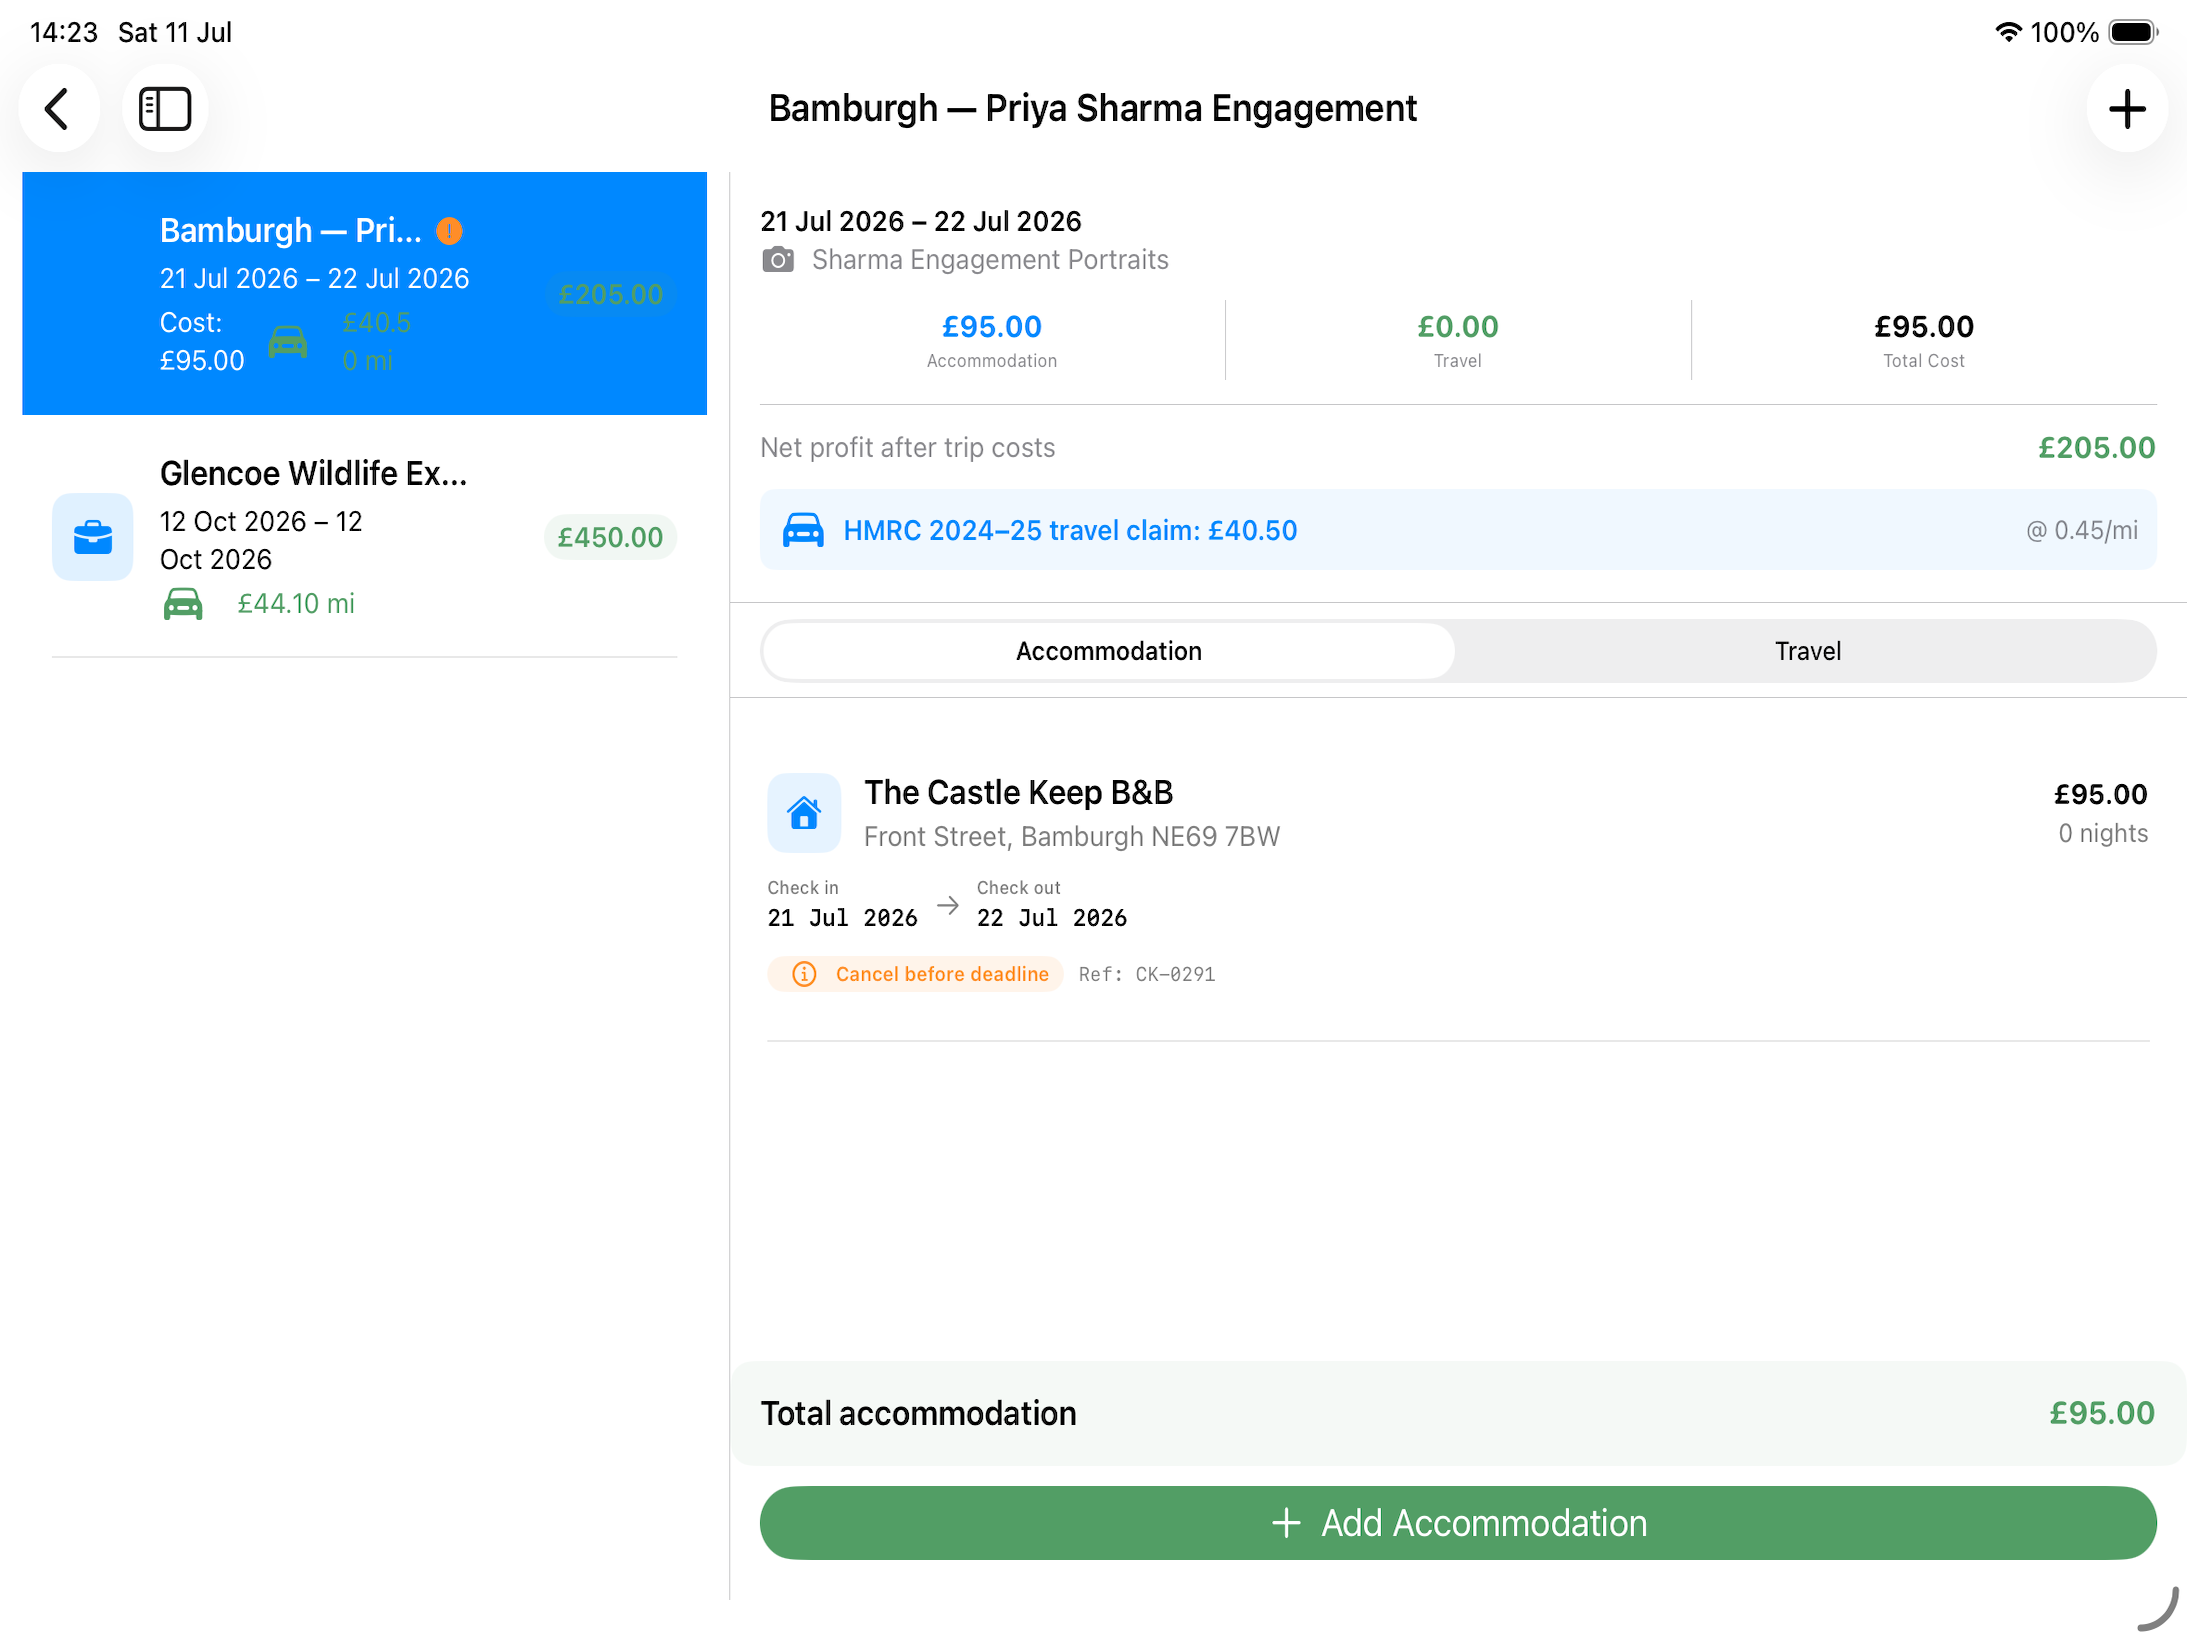
- Tap + Add Accommodation
- Enter:
- Name — Hotel/Airbnb/resort name (required)
- Type — Hotel / Airbnb / Resort / Camping / Other
- Address
- Check-in / Check-out dates
- Nightly rate
- Confirmation number
- Status — Pending / Confirmed / Cancelled
- Tap Save
Adding Travel Legs
A travel leg is one journey segment (e.g., home to airport, or airport to hotel):
- Tap + Add Travel Leg
- Enter:
- Transport type — Car, train, plane, etc.
- From and To locations
- Distance (miles or km)
- Duration
- Cost
- Mileage Claim if appropriate
- Tap Save
Mileage Claims
If you drive to a shoot, travel legs with a distance automatically calculate the mileage claim at your configured rate. The total mileage claim is shown in the trip summary and flows through to your Expenses report.
Trip Cost Summary
The trip detail footer shows:
- Total accommodation cost
- Total travel cost
- Total mileage claim
- Grand total